I decided it was about time that I smartened up my prefab garage. It started out as a dark, dank hovel where puddles formed over the floor every time it rained and worm casts were a permanent feature around the base of the walls. I'm sure if you're reading this post, you'll know what I mean! I also wanted to sort out some storage and figure out a way of hanging tools, bikes etc from the walls. It's very difficult to drill into the walls, so I needed another solution.
Here's a picture of what it looked like before I started in an almost empty state:

I wanted to have a nice level floor that I could keep clean and after weighing up a few options, I opted for a layer of liquid damp proof membrane, followed by self leveling compound and then garage floor paint. I wouldn't recommend driving a car on it, but this is more than suitable for my needs. Every now and again, I drop something heavy and it dents the floor, but I can just touch it up with some left over paint if necessary.These are the steps I followed to complete my garage overhaul:I first took the doors off and jet washed the whole floor and left it to dry for a day or two. I then formed a 1" cement fillet between the walls and floor using a narrow paint scraper. This was to prevent the water flooding in every time it rained and worms making their way between the walls and floor. I'd read on a few websites that a cement fillet was the way to go. It seemed to be a lot easier to create a consistent 1" fillet using the paint scraper than a proper trowel. I also needed a strip of concrete between the doorway to hold the self leveling compound in, so I screwed 2 x 10mm thick strips of pine to the floor, spaced about 6" apart between the doors to hold and level a cement strip while it set. Once all the cement had dried, I removed the strips.Next, I masked the walls at about 6" high and painted the whole floor with 3 coats of Wickes liquid damp proof membrane:

I did some research into whether I could just lay self leveling compound straight onto the liquid damp proof course and the only info I could find was from Wickes website where an adviser had said that it wasn't designed to be laid straight on top of the liquid damp proofing. I figured I would give it a go anyway and it's been down for a year now with no sign of cracking or ill effect. I laid the self leveling compound on my own, but I'd advise getting a friend to help if you do it yourself. I put 8 x 20kg bags of Wickes self leveling compound down. I got everything ready including 8 containers of the correct amount of water, 8 bags cut open and ready to poor, mixing trug, mixing drill attachment and cement trowel ready to screed (when it's poured, it needs a bit of coaxing to get it level!). I managed to get it all down, but had to work pretty quickly before it started going off!
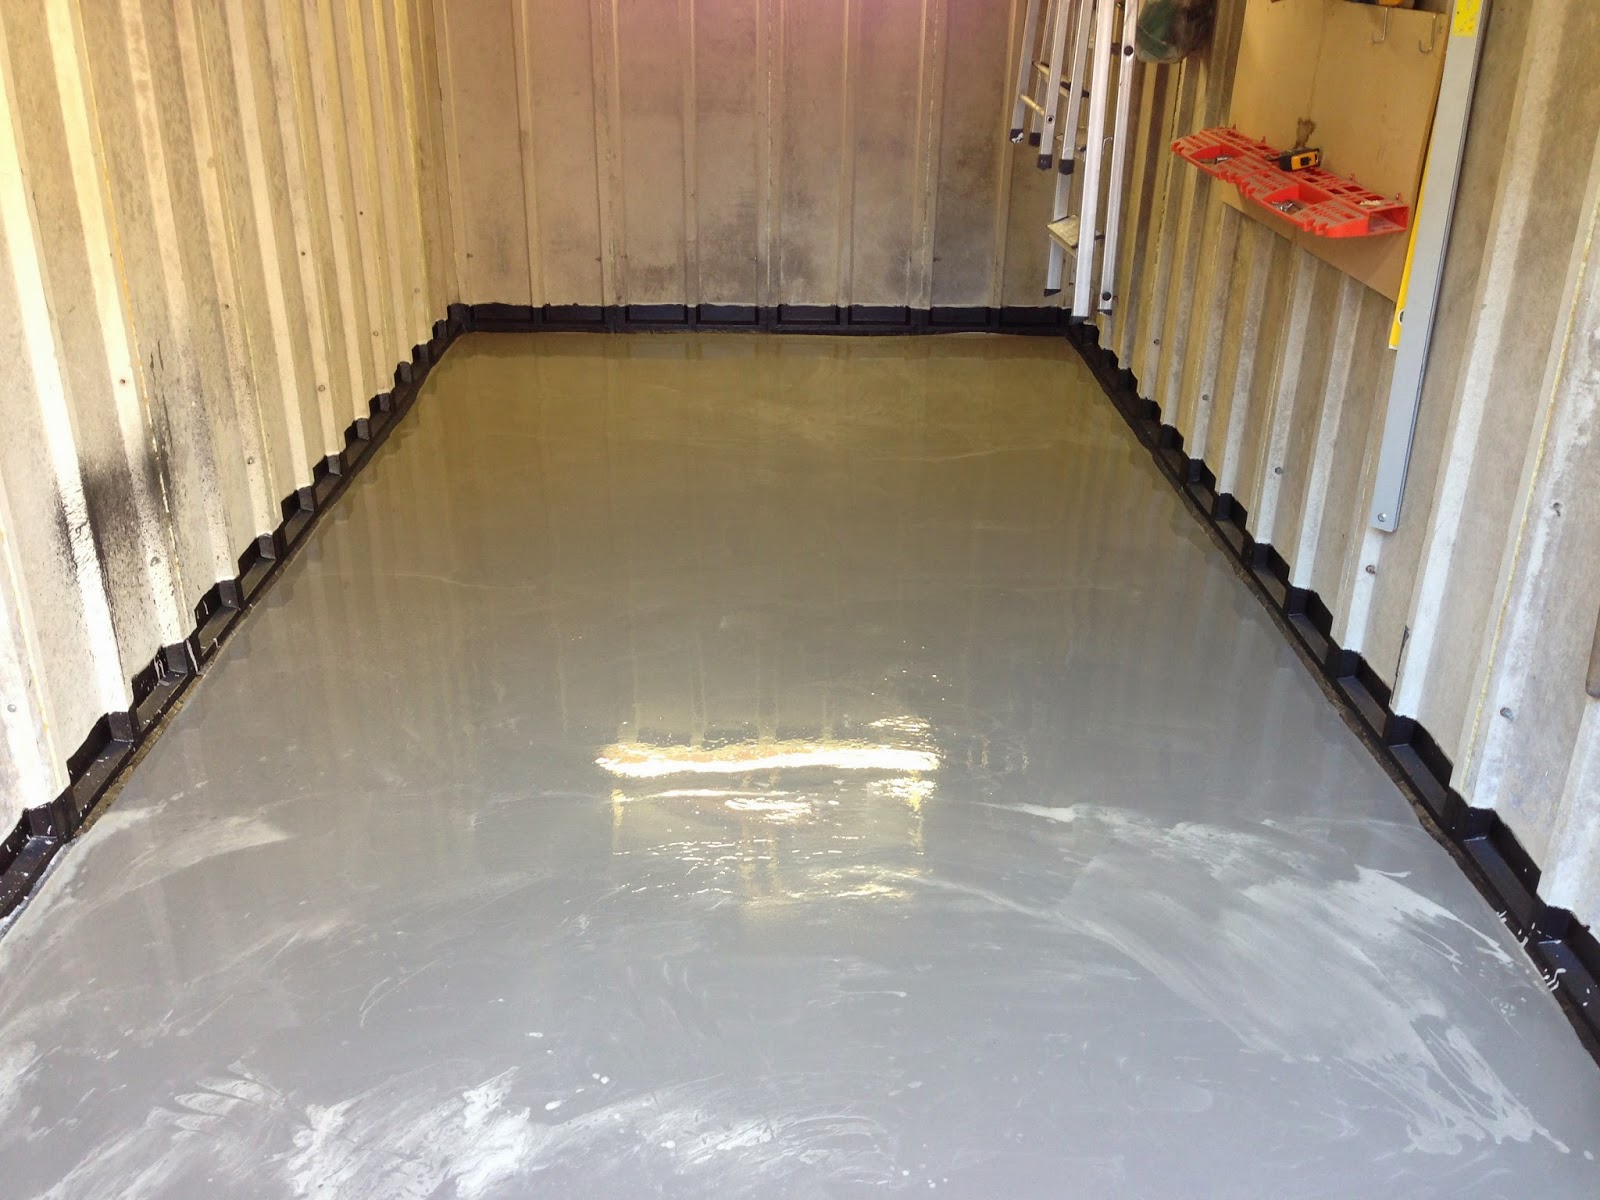
The picture below shows the (still wet) compound:
Next I used decorators caulk to fill the gaps between the concrete wall sections. I painted the walls with white masonry paint and the floor with Ronseal garage floor paint (masking again, but I'm a bit of a perfectionist!).

In order to attach hooks and a bike rack etc to the walls I wanted to have a wooden batten fixed to the walls that I could then attach everything to. I figured I could glue it to the wall, but I'm always a fan of more secure fixes if possible. In the end I bought a threaded eye bolt for every joint in the prefab walls. I got these from Screwfix. I removed the nut and washer from each of the top bolts holding the prefab sections together, threaded over the eye bolt, added a larger washer and re-attached the nut. I then drilled the battens in the relevant places and used the threaded end of the eye bolts to secure the battens to the wall with the supplied nuts. These were extremely secure for attaching my tools, bikes etc to.

The following pictures show the final result:


I hope my post has been useful for anyone thinking of doing anything similar. Thanks for reading!